Master Blooket Tower Defense: The Ultimate Tower Setup for Winning Every Game
Master Blooket Tower Defense: The Ultimate Tower Setup for Winning Every Game
In the fast-paced world of tower defense battles on Blooket, strategic setup and timing define victory. The Best Blooket Tower Defense Setup isn’t just about stacking powerful units—it’s a calculated blend of attack, defense, mobility, and counters—crafted to adapt in real time to enemy waves. With players across the platform demanding razor-sharp tactical precision, optimizing your Blooket tower lineup has become the ultimate competitive edge.
This comprehensive guide reveals the proven components, synergies, and operational insights behind the most effective tower defenses, translating raw strategy into real-world dominance.
At the heart of any elite Blooket tower defense lies the core components: mindful positioning, unit diversity, continuous resource management, and counterplay readiness. Each tower serves a distinct role—some function as early warning systems, others act as high-impact damage dealers or defensive bulwarks.
When thoughtfully combined, these units form an interlocking system capable of halting relentless enemy advances and turning the tide in high-stakes scenarios. Understanding how to layer these functions transforms a simple collection of towers into a coordinated weapon, capable of withstanding pressure and striking back decisively.
The Foundation: Positioning and Layering for Maximum Impact
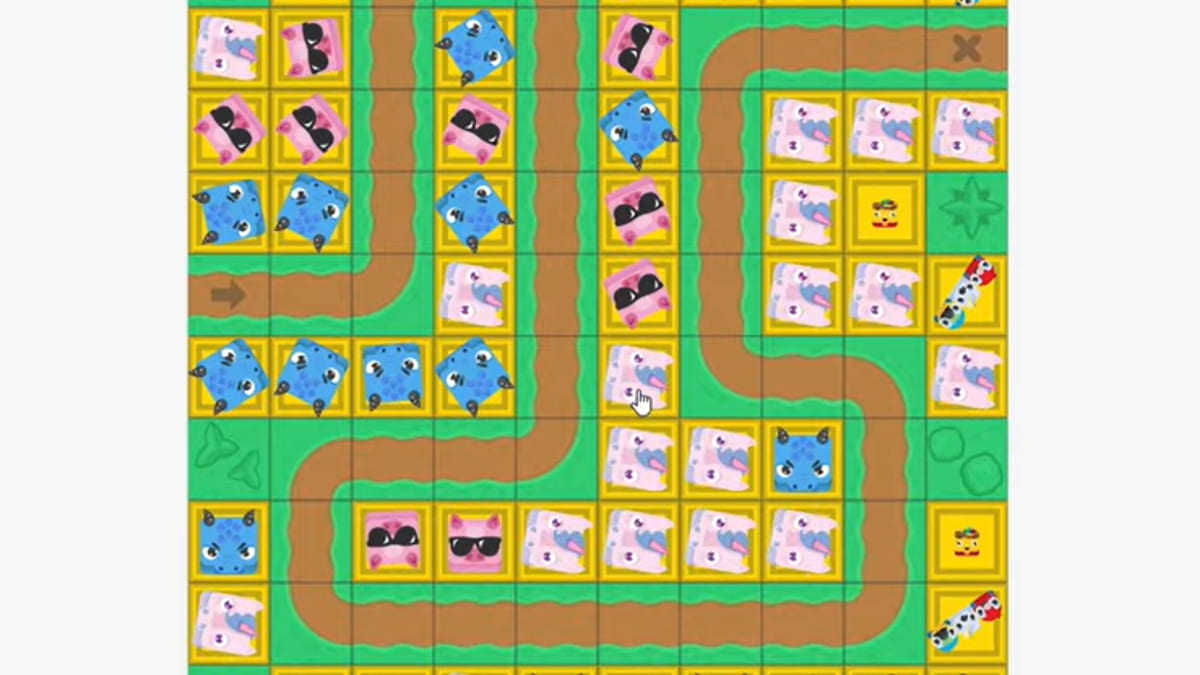
> Positioning is the unsung hero of Blooket tower defense. A well-placed tower can prevent enemies from flanking strategic points, cripple wave momentum, or force foes into kill zones.The first principle is *controlled pressure*—concentrate offensive units in choke points while ensuring defensive towers cover vulnerable entry corridors and high-value objectives.
Core placement zones include the mid-lane artery and the frontline firewall. Place splash damage towers near choke points to createifi amplification, forcing enemies into predictable paths. Backline towers, shielded by terrain or tech, should annihilate waves before they reach frontline assets.Layer towers by function: begin with scouting units that detect enemy compositions, followed by area-of-effect damage towers, then frontline line-shooters or choke-defenders.
“A top-tier setup is 60% placement, 40% synergy,” notes competitive player and strategist Jordan Ryne, “It’s not just about which towers you have—it’s where you put them and how they interact.”
Effective layerization means creating overlapping coverage, not blind stacking. For example, a long-range EMP tower near the map edge can silence incoming snipers, while a high-up spiker prevents infantry from pushing through. Meanwhile, rapid-deploy flankers can rotate to protect weak spots.
“Dynamic rotation is scalable,” says Ryne. “If a wave overwhelms your front tower, shift reserves forward while backing up assets at the rear—this fluidity is what separates good defenses from great ones.”
Core Tower Units: The Backbone of Your Defense Network
The best Blooket tower setup hinges on selecting units with complementary roles and verifiable performance metrics. Three classifications consistently dominate competitive play: splash damage, zone control, and defensive walls.**Splash Damage Titles: Crisis Containment**
Towers like the Quanta Burster and Nova Hammer deliver expansive area damage, ideal for crowd control and funneling wave momentum. The Quanta Burster, with a 120° AoE and 35 units of AoE damage per spike, excels at clearing clusters of AnyInternational wannabes. Nova Hammer, supported by a 70% roll-first trigger hitrate, neutralizes fast-moving enemies before they reach the frontline.Each false step costs ten seconds—splash units sink enemies quickly, minimizing exposure time.
**Zone Control Mastery: Disrupting the Flow**
Zone-defining towers such as the Glacial Barrier and Storm Shield act as force fields, slowing or redirecting waves.
Glacial Barrier, a high-duration ice shield, forces attackers into narrow lanes where splash towers pick them apart. Storm Shield generates periodic shockwaves that not only damage but disrupt enemy unit movement coordination. Together, they create a trap—not by trapping, but by making movement costly and predictable.
These units are not just defensive; they’re tactical decoys that make wave tactics countersinkable and expose patterns.
**Defensive Anchors: Too Critical to Ignore**
Sentinels like the Iron Bastion and Phoenix Watch embody durability and screen-clearing.
Iron Bastion’s 300 HP and 2-tap damage halt enemy pushers like aggressive Knights. Phoenix Watch features auto-upgrading shields that grow stronger post-kill, turning passive monitoring into offensive reinforcement.
Defenders anchor the line, shielding key positions and buying time for aggressive units to reset. Without reliable anti-push defense, even the firepower-heavy flanks crumble under relentless pressure.
Each tower type performs best when its strengths align with its role in an ecosystem.
A setup lacking defensive depth turns into a gauntlet—every wave forces a reset, eroding momentum and morale. Conversely, balancing offense with protection ensures waves


Related Post

What Is Ray Charles Net Worth? Unraveling the Legacy of a Musical Genius

Juliana Valencia: Catalyzing Change Through Innovation and Advocacy

Roller Burns Funeral Home Obituaries: Stories of Legacy, Compassion, and Community

Michelle Obama’s Grief,中古 Through Time: The Age When Her Father Passed and What It Reveals


