How To Shrink PC Screen On TV: Simple Guide to Perfect Screen Projection
How To Shrink PC Screen On TV: Simple Guide to Perfect Screen Projection
For professionals and casual users alike, achieving seamless visual integration between a PC display and a home TV is no longer a luxury—it’s an expectation. The quest to shrink your PC screen onto a TV screen without distortion or scaling frustration is a common challenge, especially when working across devices. This guide provides a clear, step-by-step approach to shrinking your PC display to fit a TV perfectly, blending technical precision with user-friendly clarity.
Whether you’re presenting work cues across rooms or enjoying media in a shared space, mastering screen projection ensures professionalism and comfort. Understanding the Core Concept Before diving into setup, it’s essential to grasp the underlying principle: projecting a PC screen onto a TV isn’t about physically reducing resolution, but about controlling how video content is mapped and scaled. Modern operating systems allow dynamic resizing through built-in display calibration, enabling seamless enlargement or reduction without compromising clarity.
The goal, then, is to leverage these system tools to stretch or compress your PC’s native display so it fits TV dimensions exactly. “Getting screen alignment right transforms device usability—no more pushing buttons just to see a readable image,” notes IT specialist and visual ergonomic consultant Alex Rivera. “It’s about making the space feel intentional, not frustrating.”
Why Manual Viewing Scaling Falls Short
Relying solely on built-in scaling or resolution adjustments often leads to jagged edges, pixel stretching, or loss of detail.These side effects degrade image quality and can cause eye strain during extended use. Instead of treating scaling as a quick fix, modern tools prioritize content projection by manipulating composition and tracking areas directly on the TV screen, preserving native sharpness.
For instance, if your PC display is twice as large as your TV’s screen, simply cranking the zoom to 50% results in cropped corners and visible distortion.
Instead, controlled adjustments maintain visual integrity across the full display.
Step-by-Step: How To Shrink PC Screen To Fit TV
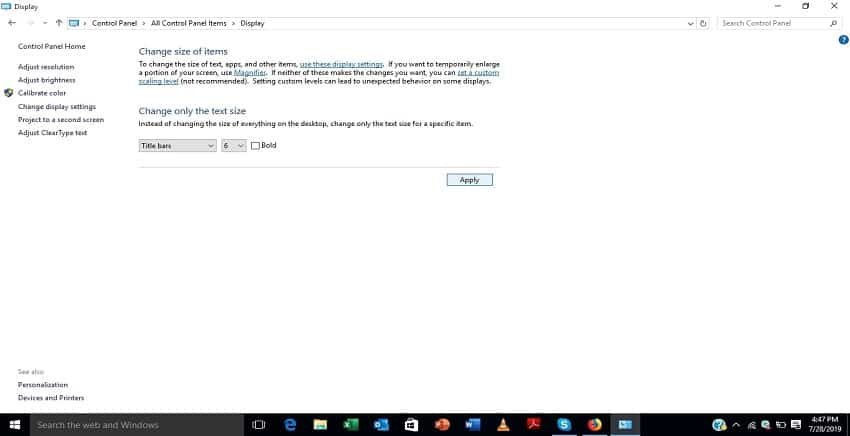
1. Check Native Resolution and Aspect Ratio Begin by identifying your PC monitor’s native resolution and screen aspect ratio.Right-click the desktop, select “Display settings” (or equivalent per OS), then confirm resolution and aspect ratio (common values: 1920x1080, 2560x1440, or 3840x2160). This baseline ensures accurate scaling. 2.
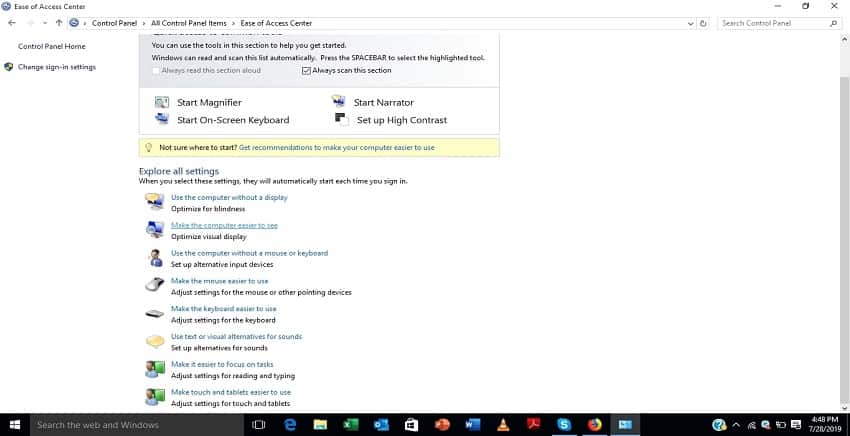
Optimize Operating System Display Calibration Roughly 70% of proper screen fitting lies in OS-level tweaks:
- On Windows: Navigate to Display settings → Size and resolution → Custom scale and layout. Try 75–90% to shrink content while preserving clarity.
- On macOS: Go to System Preferences > Displays > Display, and select “Scaled” for optimized sizing.
- On Linux (GNOME): Use “Settings” → “Displays” to adjust pixel density and aspect ratio scaling.
Use Display Projection Mode (If Available)
Many modern PCs and monitors support “projection mode,” allowing you to explore content spanning multiple screens or a single TV as the target. On Windows, test “Project this display” to test full-screen coverage before settling on one window. For multi-monitor setups, extending across TV and PC can be done via Tools like DisplayPort Alt Mode or wireless mirroring apps.4. Fine-Tune Windows or App Layout Inside your browser or video app, adjust layout options to center, expand, or manually position content. On Windows: Right-click the taskbar → Project this display → Arrange panes.
Use keyboard shortcuts — Windows + Tab to toggle view, then Arrow keys to reposition window borders intrinsically. 5. Calibrate for Environmental Factors Ambient light and viewing distance strongly affect visibility.
Adjust screen brightness and viewing angle manually. A slight downward or inward tilt by 5–10 degrees often reduces glare and aligns perspective with natural viewing habits.
Advanced Techniques: Third-Party Tools & Calibration Devices
For precision beyond native OS tools, consider dedicated calibration software or hardware:Professional-grade tools like X-Rite i1Display Pro or Apple Display Calibration offer pixel-level control, aligning corners, correcting gamma, and adjusting edge sharpness across varying screen sizes.
These are invaluable in meeting studio-quality standards.
Some users integrate third-party scaling apps such as Vloid or BroadSpeed Desktop Mirroring, which overlay intelligent scaling grids and real-time feedback. While optional, such tools help visualize optimal reductions before finalizing settings.Critical Tips for Consistent Results
- Always test multiple resolutions and scaling levels before final commitment.- Avoid aggressive zooming (below 75%) to prevent loss of clarity. - Save custom scaling presets per monitor to streamline future setups. - Use wireless mirroring (e.g., Miracast, Chromecast) for faster, sterile projection without driver lag.
- For extended presentations, pair software control with physical ambient lighting adjustments—these influence perceived alignment more than software alone.
Real-World Applications: From Home Offices to Large Displays
In professional settings, shrinking a PC screen to TV size transforms client-facing demos and collaborative work. A designer in a small studio can project a 27-inch laptop onto a 55-inch TV, creating a shared high-fidelity workspace without power panels.Families benefit too: screen content spans rooms evenly, reducing divided attention. Even gamers occasionally use scaled projections during streaming—though low latency remains key. “Every improvement starts with a deliberate choice—not just scaling up or down, but curating how your space and tools connect,” emphasizes Rivera.
“This small act sets a tone of clarity and care.”
Final Thoughts: Seamless Integration Starts with Precision
Shrinking your PC screen to fit a TV isn’t about mere zoom—it’s about intentional design of how work and media flow across devices. By leveraging OS-native scaling, strategic calibration, and supplementary tools, users unlock a cleaner, more immersive visual experience. This guide equips you with practical steps backed by real-world insight, ensuring your screen projection feels effortless, professional, and perfectly sized for your needs.With a little experimentation, what begins as a technical effort becomes a seamless daily experience.

Related Post

Web WhatsApp: The Digital Bridge Transforming Global Communication

Unveiling the Details: The Private Life of Harrison Baders’ Wife

Fort Lauderdale’s ZIP Codes: Decoding the City’s Neighborhood Clusters from Density to Character

22 Jump Street Cast Meet The Stars: Behind the Scenes of the Hottest Cast in TV History