How To Remotely Access Raspberry Pi For Remoteiot: The Ultimate Step-by-Step Guide
How To Remotely Access Raspberry Pi For Remoteiot: The Ultimate Step-by-Step Guide
Remotely accessing a Raspberry Pi is no longer a niche technical feat—it’s a powerful capability transforming how hobbyists, developers, and IoT engineers deploy edge computing solutions. With Remoteiot, a dedicated remote management solution tailored for Raspberry Pi devices, unlocking access has become both intuitive and secure. This comprehensive guide demystifies the entire process, offering precise instructions and tested techniques to connect, control, and monitor your Raspberry Pi from anywhere in the world—no advanced coding required.
At the core of remote access lies the challenge: enabling reliable, encrypted connectivity without compromising stability or security. The good news is that Remoteiot, combined with the right setup, delivers a robust framework for managing Pi devices remotely with minimal complexity. Whether you’re running home automation systems, edge data loggers, or remote monitoring stations, this toolkit enables seamless operation across diverse networks.
Step-by-Step Setup for Secure Remote Access Using Remoteiot
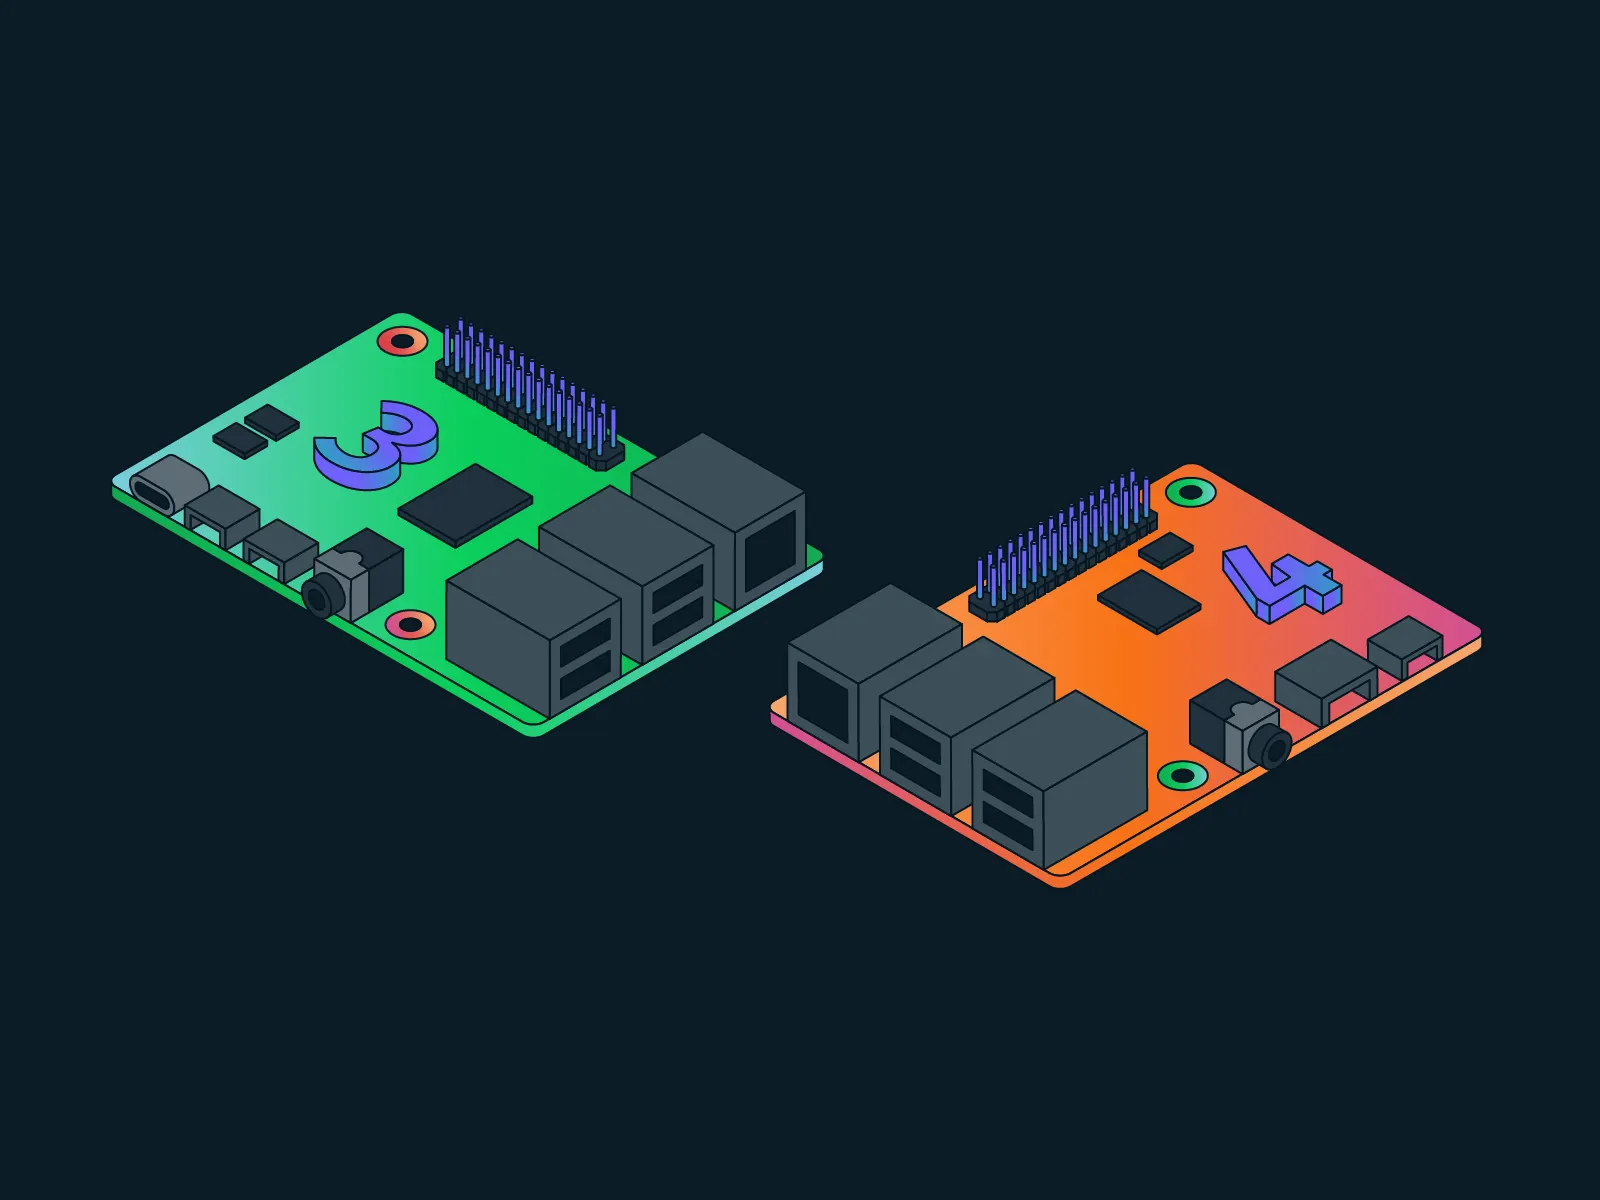
Step 1: Prepare Your Raspberry Pi Hardware Begin with hardware readiness. A Raspberry Pi—whether Model 3, Model 4, or Nano—requires a stable power source, a functional USB keyboard and mouse (or SSH-capable network interface), and a microSD card with Raspberry Pi OS installed. Ensure the device is updated before proceeding.Run sudo tít update && sudo tit upgrade in the terminal to ensure system compatibility. This baseline upgrade prevents version conflicts during remote operations. Step 2: Install Remoteiot Firmware Remoteiot integrates natively with Raspberry Pi firmware; installation starts by downloading and installing the official Remoteiot package via `curl`.
Begin with:
wget https://sample.remoteiot.io/remoteiot-installer -O remoteiot-installer.sh && sh remoteiot-installer.shStep 3: Establish Network Connectivity For remote access, stable network connectivity is essential. Connect your Pi via Ethernet or Wi-Fi to a local network with known IP addressing. Document this IP using `ip addr show` or equivalent.
If operating remotely, verify firewall rules allow incoming traffic on Remoteiot’s default port (usually 6000 or 22 for secure shell access). Avoid exposing sensitive ports directly—use VPN tunnels or port forwarding via your router to streamline entry.
Configure Remote Access via Secure Protocols
Enable SSH and Remote Monitoring via Remoteiot Dashboard Remoteiot provides a web-based interface accessible from any internet-connected browser.Navigate to https://
Security is enforced through TLS 1.2 encryption; all communication requires valid certificates.
Never disable encryption or reuse weak passwords—Remoteiot supports two-factor authentication when integrated with auxiliary tools.
Advanced Remote Access: VPN Integration and Remote Desktop
Secure Access with VPN Tunnels For organizations requiring enterprise-grade security, combine Remoteiot with a dedicated VPN. Configure OpenVPN or WireGuard on your router to create a private tunnel from external networks to your Pi’s local IP.With Remoteiot active, access now becomes both remote and encrypted—ideal for remote facility monitoring or off-site diagnostics. “VPN integration transforms Remoteiot from a manageability tool into a secure edge gateway,” explains developer Marcus Lee, IoT infrastructure specialist. Enable Remote Desktop (Optional) For graphical control, Remoteiot supports SSH-based X11 forwarding or can be paired with VNC servers.
While Remoteiot primarily excels at terminal access, configuring a lightweight X11 relay via `xhost +` and forwarding sessions securely enables GUI management—particularly useful in EduTech or home lab environments. However, prioritize SSH for simplicity and bandwidth efficiency unless visual interface needs are non-negotiable.
Best Practices for Reliable Remote Operation
Prioritize Network Stability and Monitoring Remote access fails at the network layer.Use ping tests (`ping
Automate heartbeat alerts via Remoteiot’s logging to notify administrators of connection drops instantly. Automate Security and Updates Remote management demands automation. Set up cron jobs to run `update & upgrade` nightly, ensuring firmware and dependencies stay current.
Schedule daily backups of configuration files and system logs using `rsync` over encrypted channels. Enable automatic OS updates unless manual control is required—this minimizes attack vectors.
Real-World Use Cases and Future Outlook
From managing smart agriculture sensors across continents to monitoring office security cameras worldwide, Remoteiot-enabled Pi installations streamline remote operations.
Users report reducing setup time from hours to minutes while maintaining full command over their edge devices. As edge computing grows, Remoteiot is evolving to support multi Pi orchestration, seamless integration with cloud platforms like AWS IoT, and enhanced AI-driven diagnostics. For tech-savvy users and enterprises alike, remote access to Raspberry Pi is no longer optional—it’s foundational.
In essence, combining Remoteiot with a well-configured Raspberry Pi delivers an unmatched blend of accessibility and robustness. With careful attention to network setup, secure protocols, and automation, anyone can remotely control their Pi from anywhere—ushering in a new era of distributed computing efficiency.

Related Post

Karan Johar’s Wife Revealed: All You Need to Know About His Personal Life

Firestone All-Season Tires: Reddit’s Verdict on Real-World Performance

Discovering Lucy Liu Partner: Relationships & Private Life

Digdig: How the AI Powerhouse Revolutionizes Information Access in the Digital Era


